Friday, February 3, 2017

Wild About You Valentine Card featuring Miss. Kate Cutables

Hello, all! I am excited to share a Valentine's Day card with you. And it is my pleasure to be guest designing for Miss. Kate Cuttables. When I found that I would be creating this card for the month of February I knew exactly what I wanted to create. This card features the following cut files from Miss. Kate Cuttables: Zoo Fun Bundle, Wild About You title, and Nested Hearts.

I include all the measurements for this cute little critter peek-a-boo card. I included a process video (at the end of this post) which shows how I assembled my card. If you would like to see a tutorial on how to create a peek-a-boo card in Cricut Design Space leave a comment. I hope you enjoy!


This card measures 5" x 7" and I used a kraft cardstock for my card base. It is a larger card but I think a child would love this cute critter card.


I used my Cricut Explore for all the die cutting and Cricut Design Space to create the design. These files include a JPEG, PNG, and SVG so that it can be used with most electronic die cutting machines. I created a single panel (left) from kraft cardstock; I find this makes creating dimensional cards easier to assemble. The pink card is my main panel where my little critters come to life. I lined up a heart from the Nested Heart file which created this peek-a-boo frame.


These are the hearts that I created from the Nested Heart file. They are the same size as the heart cut outs on the main panel. I used embossing folders to add texture. It is amazing what a difference this made. These hearts measure 2.19" x 1.95". Using my main pink panel as a template I adhered the hearts to the kraft panel; I show this process in the video.


I wanted to add a layered accent panel for the front of my card. I used the Straight and Slim font in Cricut Design Space to write 'Valentine'. I offset the cream cardstock to the right (when layering; see above photo) to create interest.


For my sentiment I used the Wild About You title. I love all the layers with this sentiment. I used my Xyron Create-A-Stick to adhere the words to the shadow. The title measures 2.4" x 2.3". And it includes some fun tropical leaves.


I just smile when I look at these little critters which are from the Zoo Fun Bundle. I used the PNG file that is included in the bundle and the Print then Cut feature in Cricut Design Space to create my critters. I used Glossy Accents on the eyes and nose to bring them to life.

Here is the process video or watch on YouTube:


It was my please to create this card for Miss. Kate Cuttables; be sure to visit her store for awesome cut files.

Happy Crafting,
Kimberly

Tuesday, January 31, 2017

Where did January go?!

Hello, all! I can't believe January has come and is almost gone. It has been a busy month and I have not had much time for crafting. But I do have some exciting news. I have been asked to be a Miss Kate Cuttables Guest Designer. My project will be published on February 3rd; I also created a process video showing how I assembled my project. I have some other projects that I am working on and will be sharing with you soon - this will include some Cricut Design Space cut files. I pray and hope all is well in your life.

Happy Crafting,
Kimberly


Saturday, December 24, 2016

Believe Chrsitmas Card

Hello Crafters! It's Kimberly with a fun Christmas card featuring the Kat Scrappiness 'Believe' brush script die. Also, I used the Hero Arts Color Layering Snowy Tree stamp set. I show how to use to create the layered snowy tree in a process video - click Here or watch above.


Monday, December 19, 2016

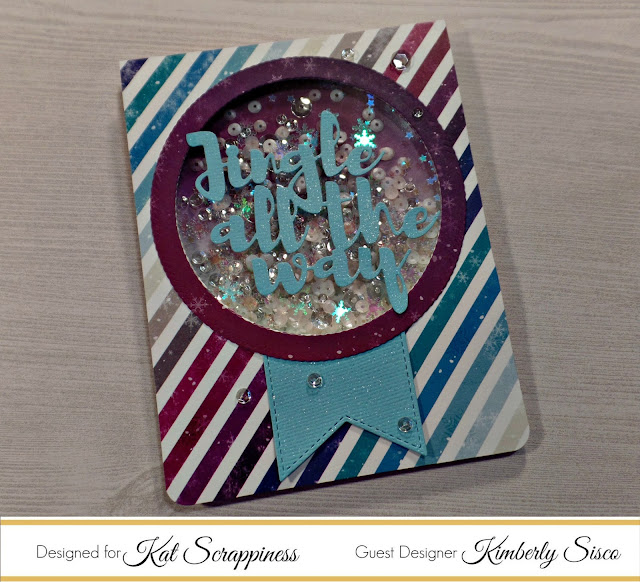
Christmas Shaker Card featuring the Kat Scrappiness 'Jingle All the Way' die

Hello Crafters! Kimberly Sisco here with another project I created for my Guest Designer spot for Kat Scrappiness. I created a Christmas shaker card featuring the gorgeous Kat Scrappiness ‘Jingle All the Way’ brush script die. 


Saturday, December 3, 2016

Happy Holidays Featuring the Stitched & Layered Christmas Tree Die by Kat Scrappiness

Hello Crafters! Kimberly here and it is my pleasure to be a Guest Designer for Kat Scrappiness. Today I am sharing a Christmas card which features the Stitched & Layered Christmas Tree Die by Kat Scrappiness; along with some wonderful products from her store.


Tuesday, November 1, 2016

Cricut Design Space - Manipulating Large Images

Hello Everyone!

Since posting my last project (a Halloween wreath) I have had a few questions on how to cut out a larger image in Cricut Design Space so that the image will cut from a 12 x 12 piece of card stock. I created a short video demonstrating how to arrange a larger image in the preview screen in CDS. Please, let me know if you have any other questions.

Watch below or click Here:


Saturday, October 29, 2016

Cricut Halloween Project

Hello Crafters!

I know it has been a long time but I am finally able to get my craft on and share a project with you. I know Halloween is around the corner but I wanted to share a quick Halloween wreath that I created in Cricut Design Space. The cut file will be at the end of the post and I share a video tutorial on how to put it together.