Since posting my last project (a Halloween wreath) I have had a few questions on how to cut out a larger image in Cricut Design Space so that the image will cut from a 12 x 12 piece of card stock. I created a short video demonstrating how to arrange a larger image in the preview screen in CDS. Please, let me know if you have any other questions.
I know it has been a long time but I am finally able to get my craft on and share a project with you. I know Halloween is around the corner but I wanted to share a quick Halloween wreath that I created in Cricut Design Space. The cut file will be at the end of the post and I share a video tutorial on how to put it together.
Hello Crafters! I wanted to stop by and say hello. I am having to take a bit of a hiatus from crafting; this has been very challenging. My husband and I are preparing to move within the next month. Doing this will reduce my commute time from 2 hours per day to about 15 - 20 minutes per day; which equals more time for crafting and making video tutorials for you (which I love doing). So, hang in there with me and I should be up and running this September in my new crafty space. Please, take care and have a blessed day.
I wanted to share a boys birthday card that I created with Cricut Design Space. The main characters come for the Cricut cartridge 'Bump in the Night'. All images are included in the Cricut Access Subscription. The Cricut Design Space cut file and video tutorial link are available at the end of this post.
I used the Print then Cut feature in Design Space for my monsters and the Raaaarh sentiment. To give these images depth I used Glossy Accents on the monster faces and the sentiment. I also painted the cut edges with a brush pen, such as Tim Holtz Distress Markers, in a coordinating color. It really gives the images a finished look.
I let my Cricut Explore do the writing for me, as you can see with the inside sentiment. The dot patterned paper is from Simple Stories 'Snap Color Vibe'; I am in love with this little 6 x 6 packet. The color theme for my card is Mustard Yellow, Dark Orange, and Peacock Teal.
Thank you for stopping by today. Please, let me know if you have any questions. The video tutorial will show how to assemble this card; I would appreciate if you would like my video and become a YouTube subscriber.
Also, I made this card for Die Cuttin' Diva's challenge blog - the theme is Polka Dots. Head over and try their challenges; I find them very inspiring. Click HERE to be taken directly to their blog.
I just wanted to share with you a quick little update on my blog. I have added some quick connect links to the right of my blog. I felt this would make connecting with you easier. I hope you will join me in my crafting adventures. I look forward to sharing another project with you very quickly.
These are not clickable links. Just take a peek to the right of this post and the clickable links are ready to go.
Please, leave a comment or share a photo of your project on my FaceBook Page - click Here. For the Cricut Design Space cut file - click Here. Just an FYI...if you do not own the cartridge A Child's Year you will need to delete Birthday. You can easily create your own or use one you own. If you need help let me know.
Be sure to become a Follower of this blog and sign up for e-mails so that you can be notified when I share projects and cut files. Thanks for stopping by.
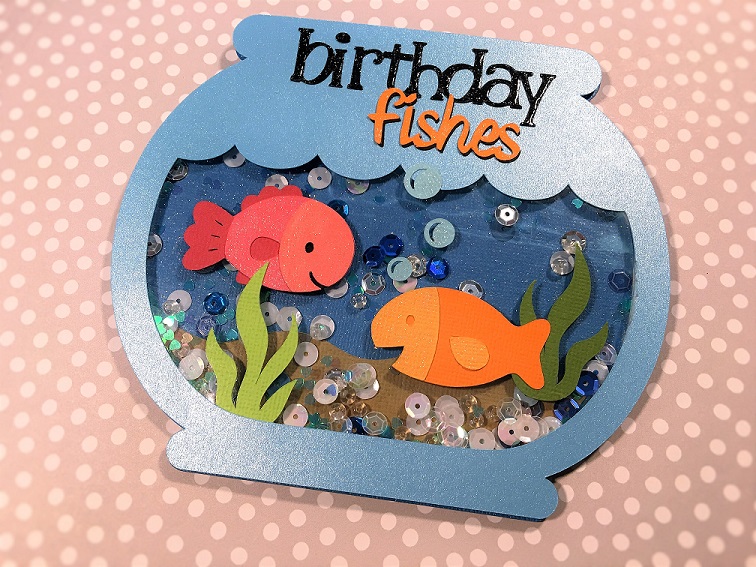
I wanted to share a birthday card that I created in Cricut Design Space; I share the cut file for this particular project (it is at the end of this post). I could not resist the idea of making this shape card.
All images, except for the bubbles, came from the 'Create a Critter' cartridge; which is included in the Cricut Access Subscription. And the bubbles come from a bathtub image in 'Kate's ABCs'; I deleted the bathtub. The birthday sentiment is from 'A Child's Year' and is not included in the Cricut Access. If you do not own this cartridge you can simply delete the image from the cut file and add one you own or create; the word fishes was created the 'Suburbia' font. I added Wink of Stella to the fish and the sentiments. Also, I added Glossy Accents to the word birthday to add a little pop.
I chose to make this card into a shaker; my sequins are from Doodlebug. I have made a video tutorial on how to make the shaker card but it is taking some time to upload to my computer. Be sure to subscribe to my YouTube channel so you don't miss the video - click HERE!
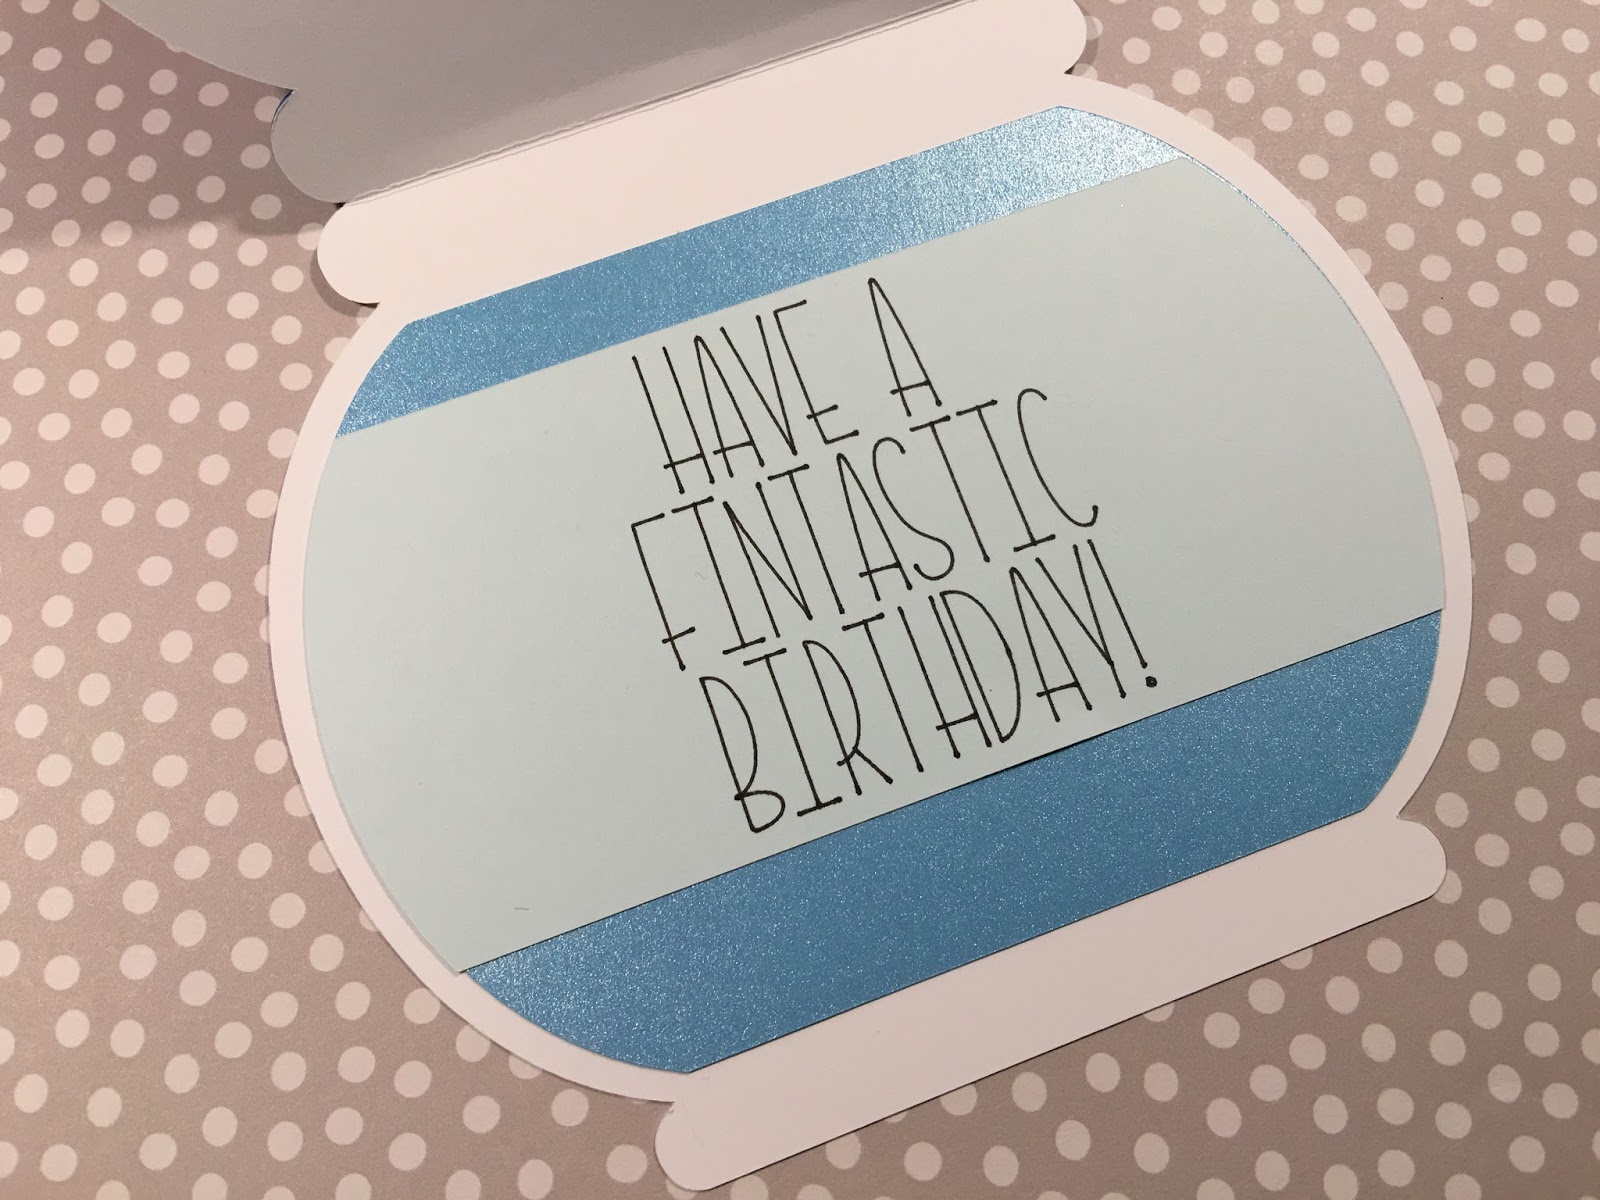
I kept the inside simple and funny. I used the Kyden font for my sentiment. Thank you for stopping by and visiting. I was inspired to make this card for the Die Cuttin Divas Challenge; stop by and check them out.
Happy Crafting ~ Kim
Cricut Design Space cut file - click HERE
My YouTube Channel - click HERE